
How to Deploy a Next.js Application to Vercel
3 min read
It amazes me how easy it's to deploy things on @vercel holy shit
— shak3N (@guilhermen2k) December 22, 2022
TL;DR
Vercel is the quickest and easiest way to deploy a Next.js application. With a few quick steps, your application is up and running on scalable cloud infrastructure and updates every time you push your code.
- Create your Next.js application and push it to GitHub
- Use Vercel's website to connect Vercel to your GitHub repo
- Profit
What Makes Vercel a Great Option for Hosting for Your Next.js Application?
Vercel is the company that funds the development of Next.js and one of the core features of Next.js is the developer experience. So by extension, Vercel's integration with Next.js is first class (although you can deploy many other kinds of projects too). If you haven't tried Vercel as a hosting solution for your Next.js application, you're missing out. I'm hoping this article will convince you to give it a try.

Step 1: Log into Vercel and Create a New Project
If you don't already have a Vercel account, create one. It's free (no credit card required) and they provide you with free, scalable cloud infrastructure. You have nothing to lose.
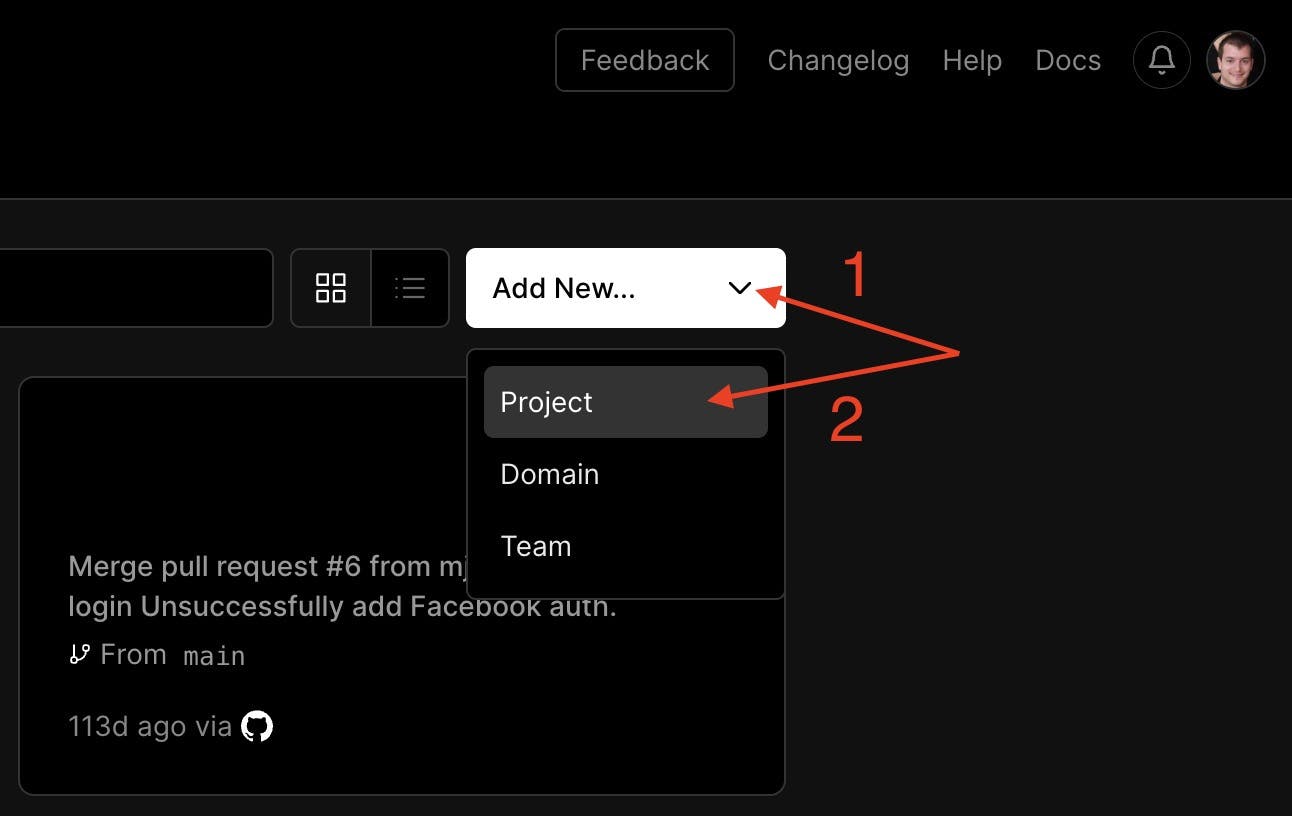
You will need to grant Vercel access to your GitHub repository, so I'd recommend choosing GitHub to log into Vercel as well. Once you're logged into Vercel, go to your dashboard page. Create a new project by clicking the "Add New..." button and then selecting the "Project" option.
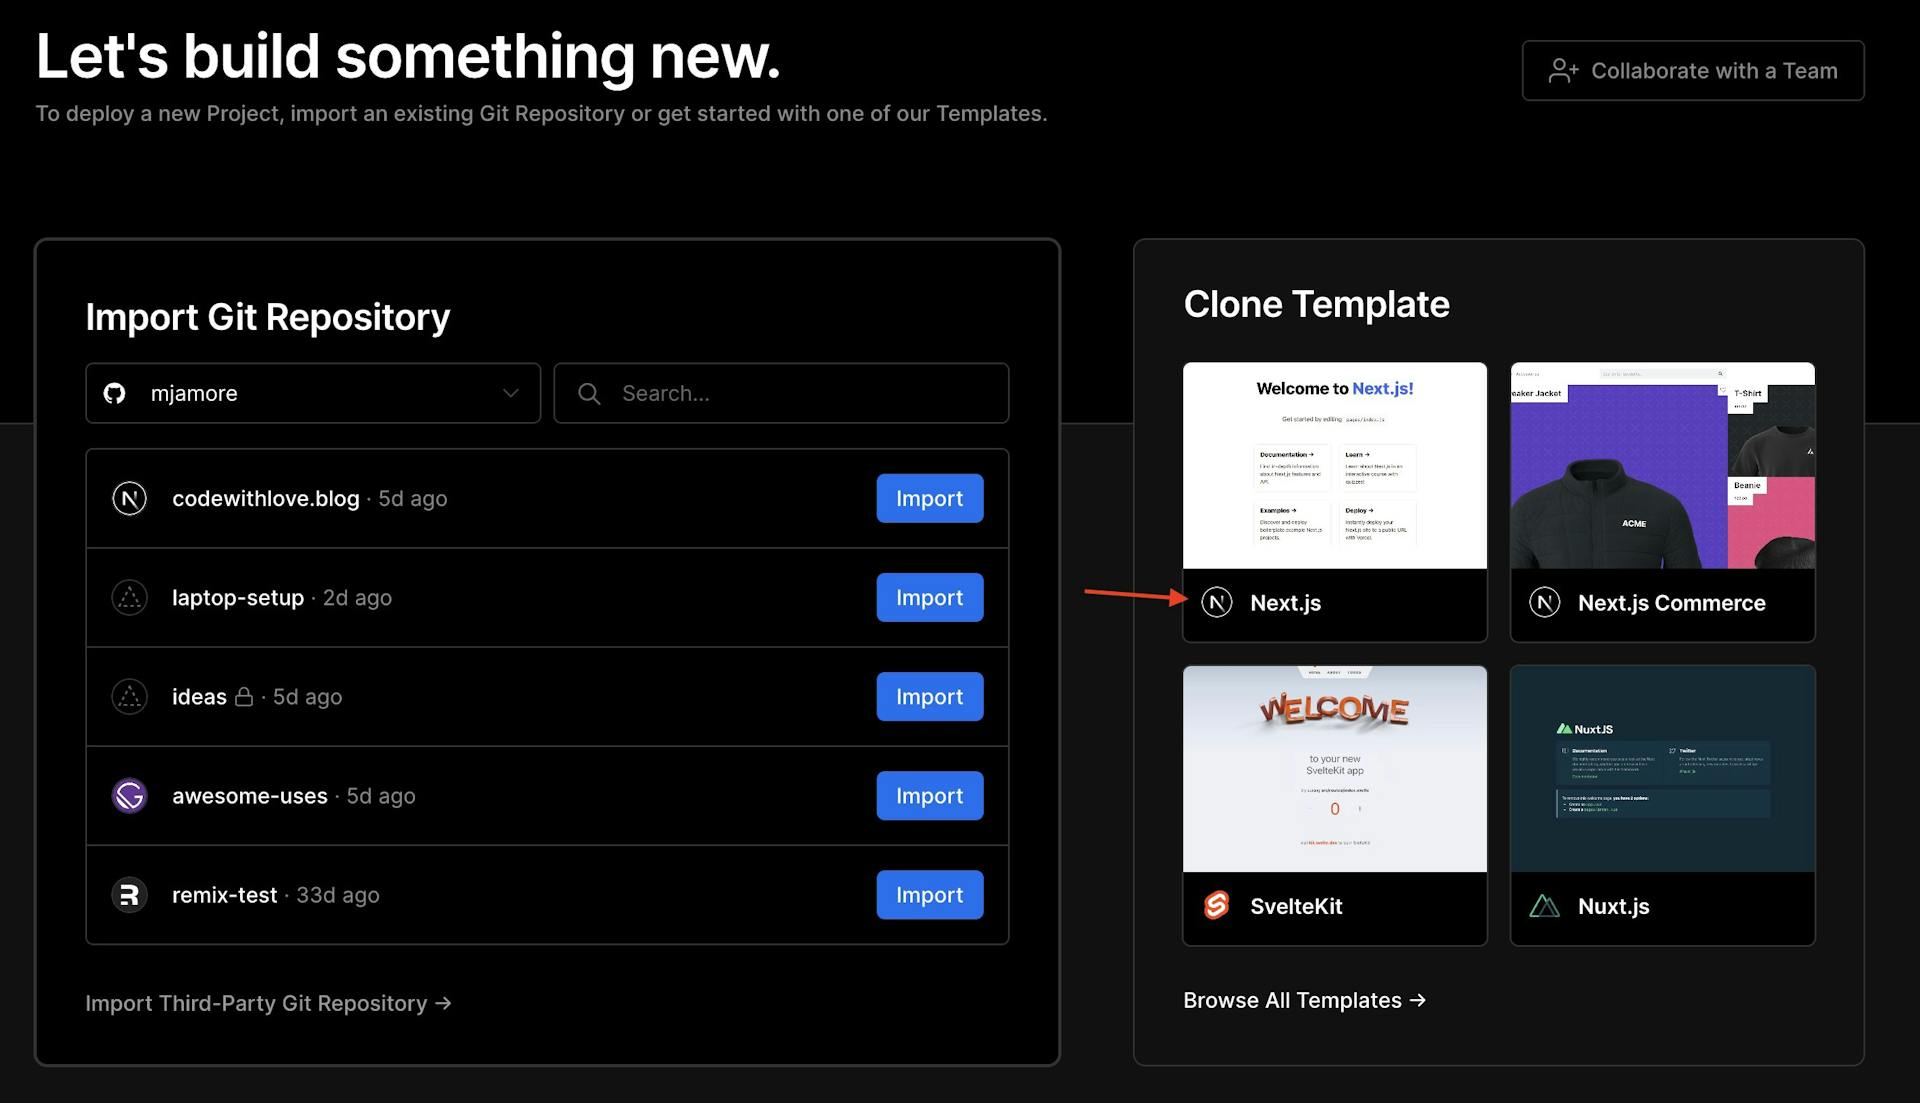
Step 2: Connect Vercel to an Existing GitHub Repository or Create a New Project
From there, you can either choose an existing repository from your GitHub account account, or a start a new Next.js project from one on the many starter templates they have available. In the past, I've always started a new project at the command line with something like npx create-next-app ..., but I prefer this method of starting my project from the Vercel website because it takes care of some of the initial setup for me.
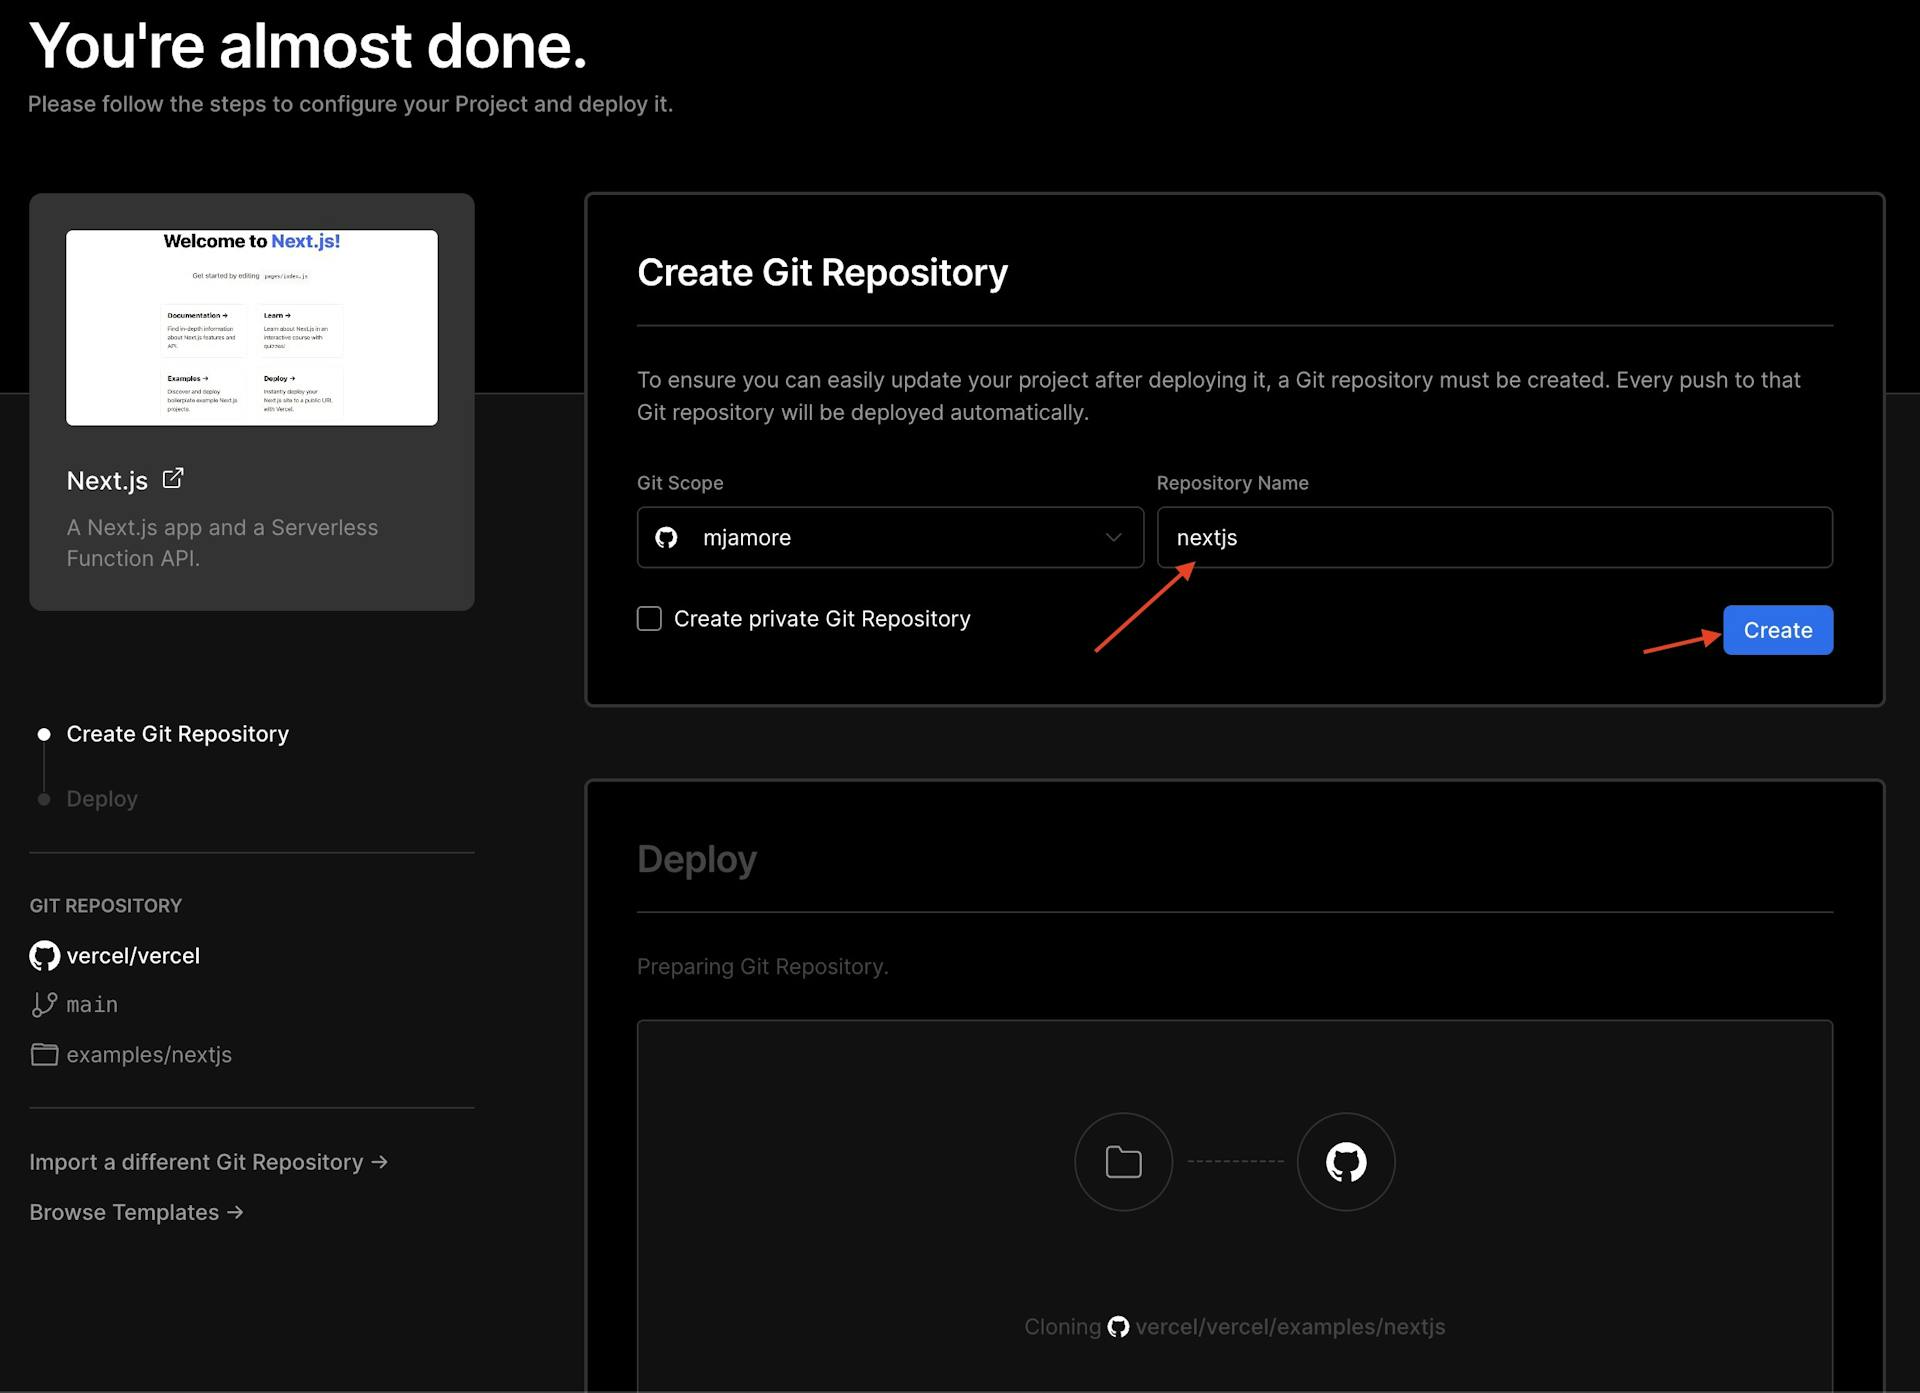
On the next page, if you are creating a new project from a Vercel template, give your repository and click "Create".
Step 3: Deployment (Sit Back and Watch)
Vercel will immediately start deploying the latest version of the code from you GitHub repository.
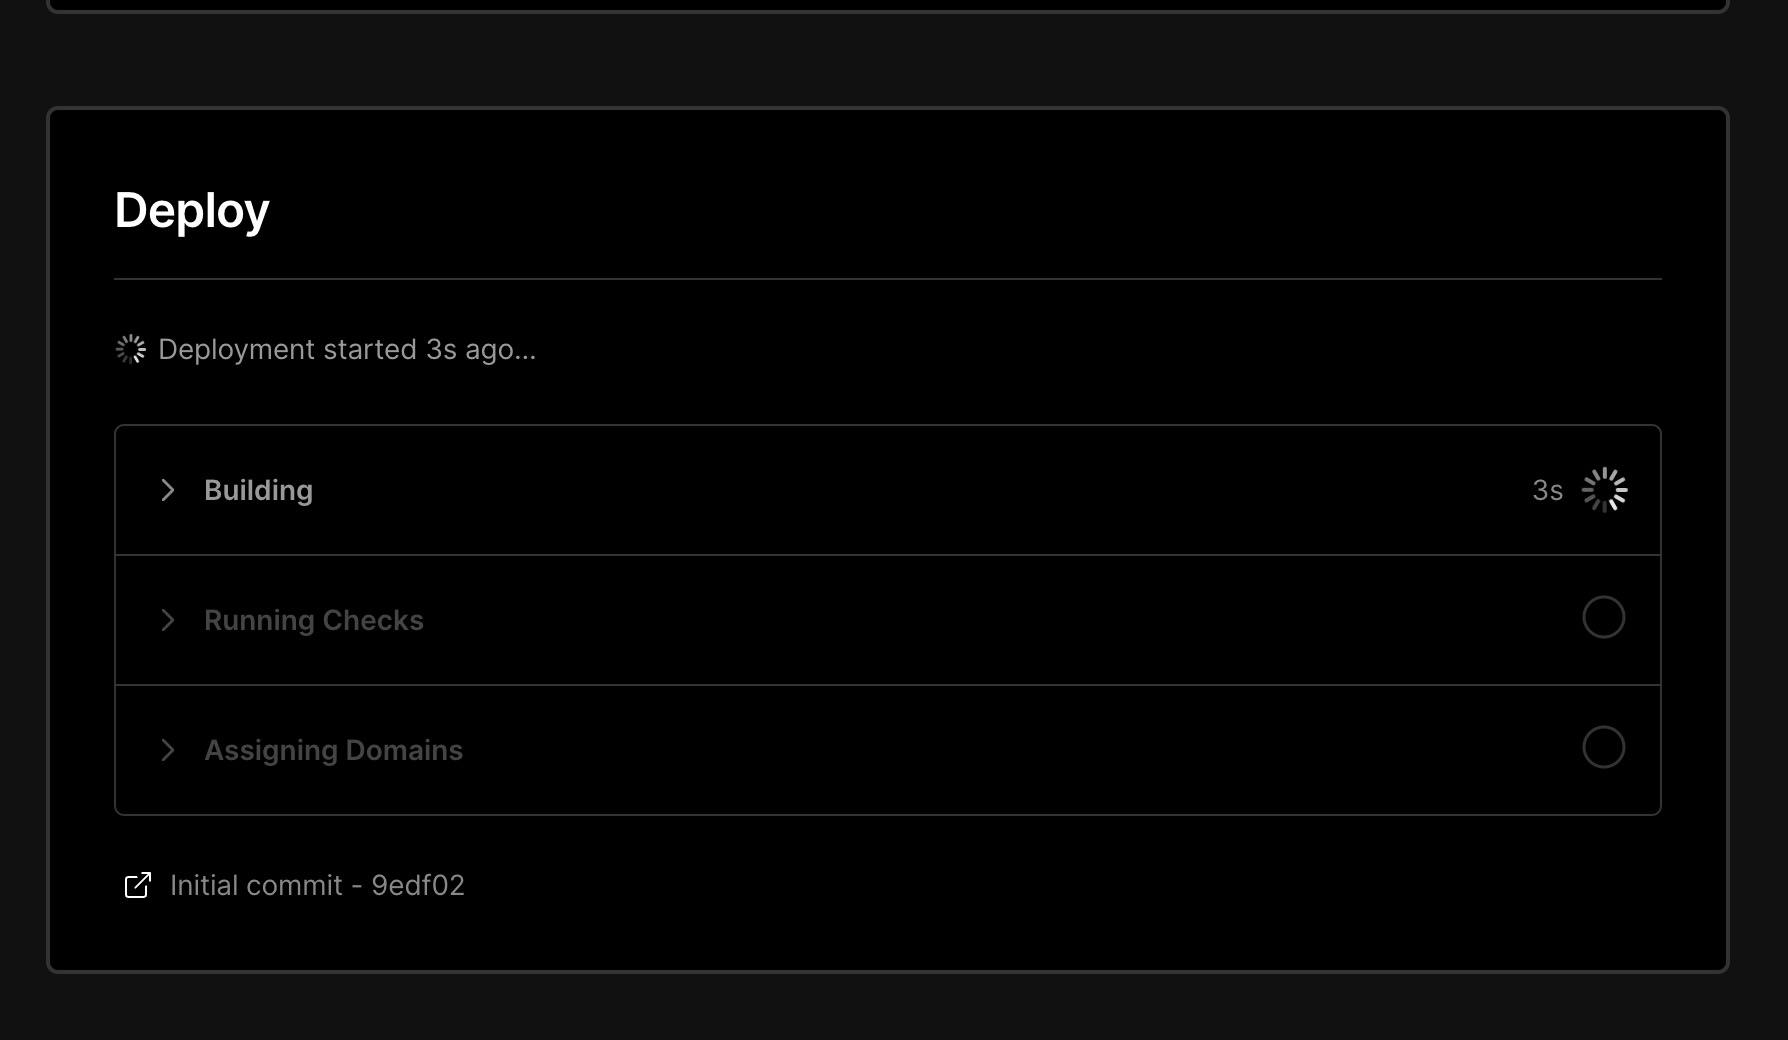
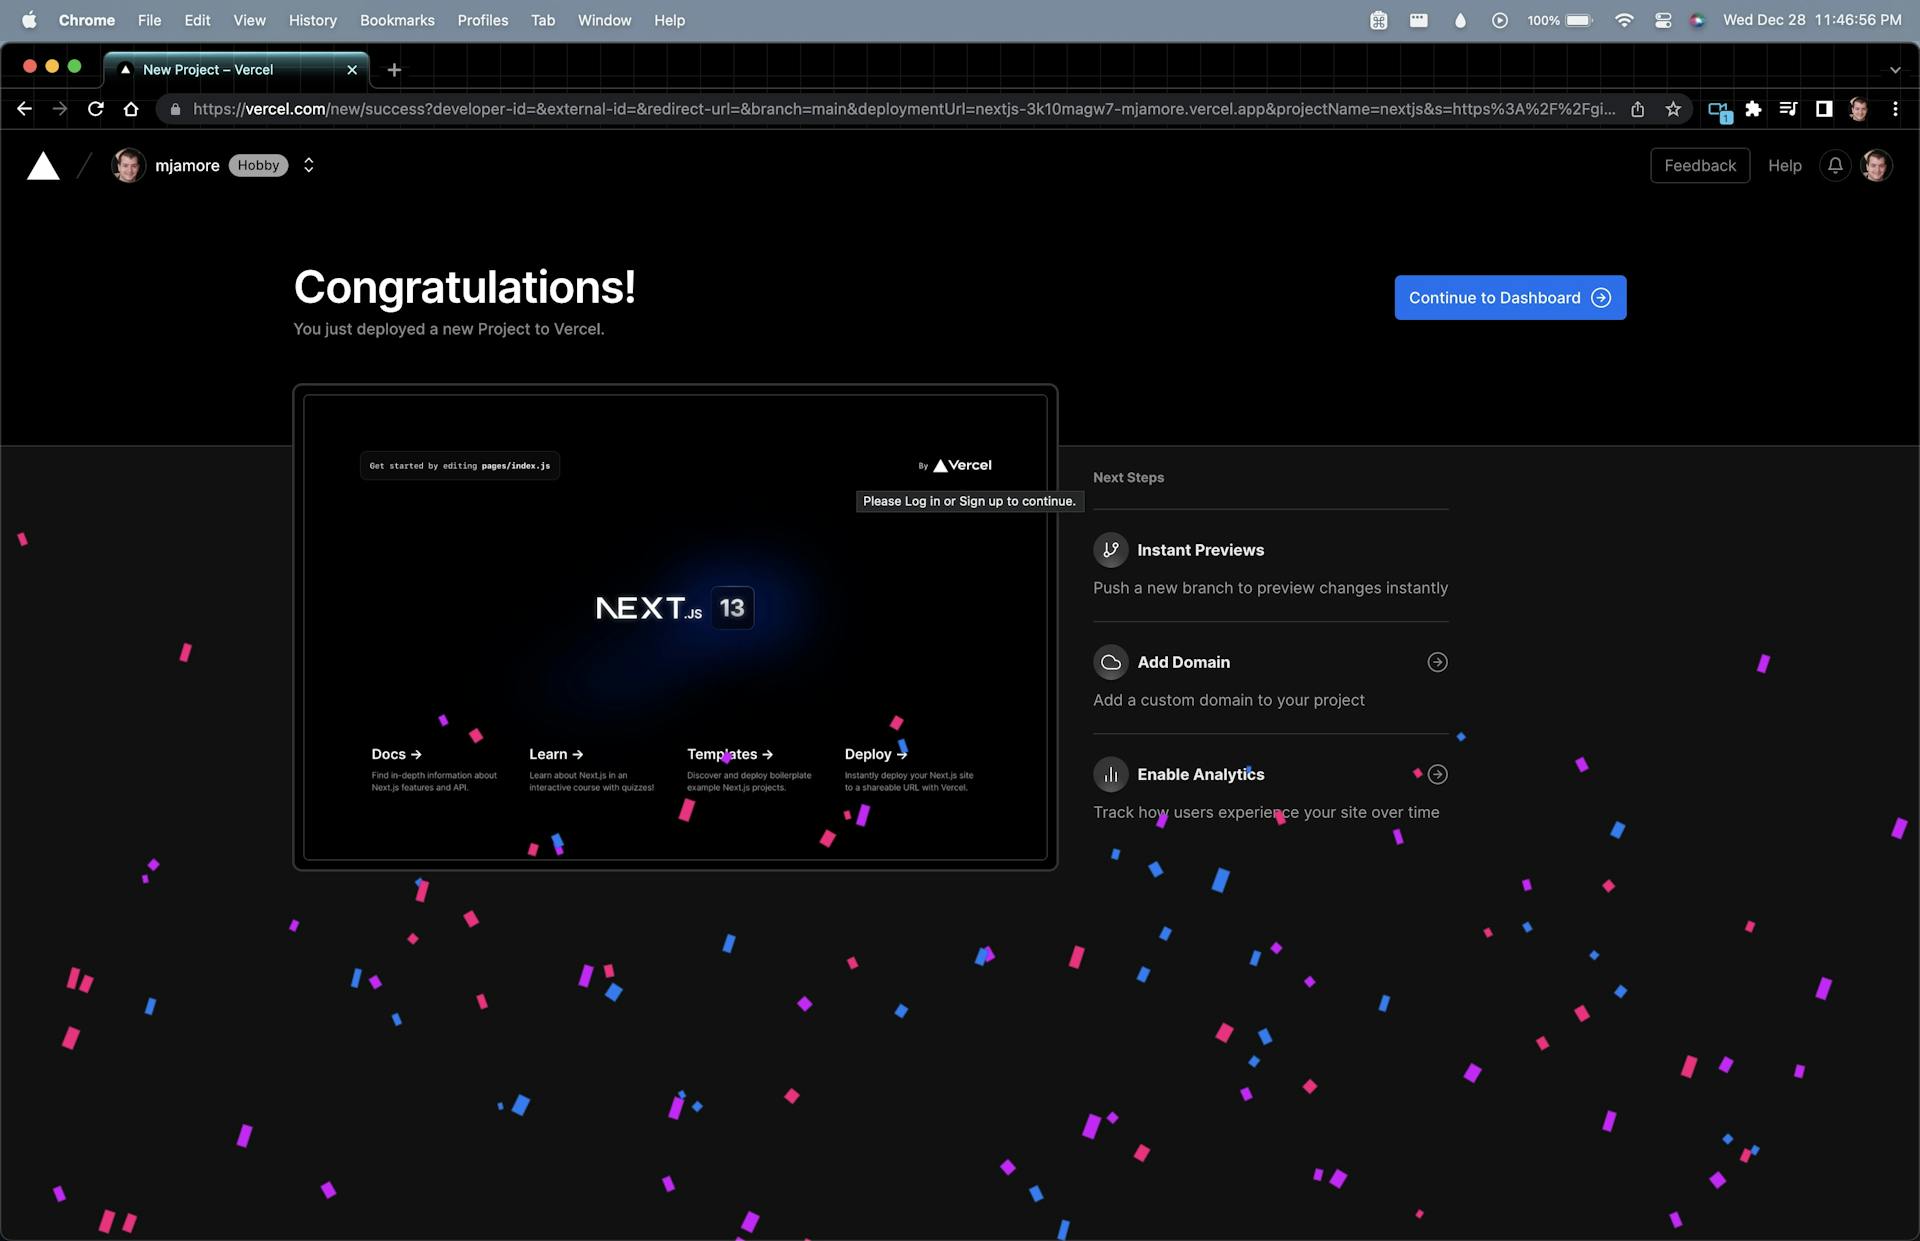
In less than a minute (depending on the size of the project you're deploying), you should see the following screen, indicating that your project has been deployed successfully.
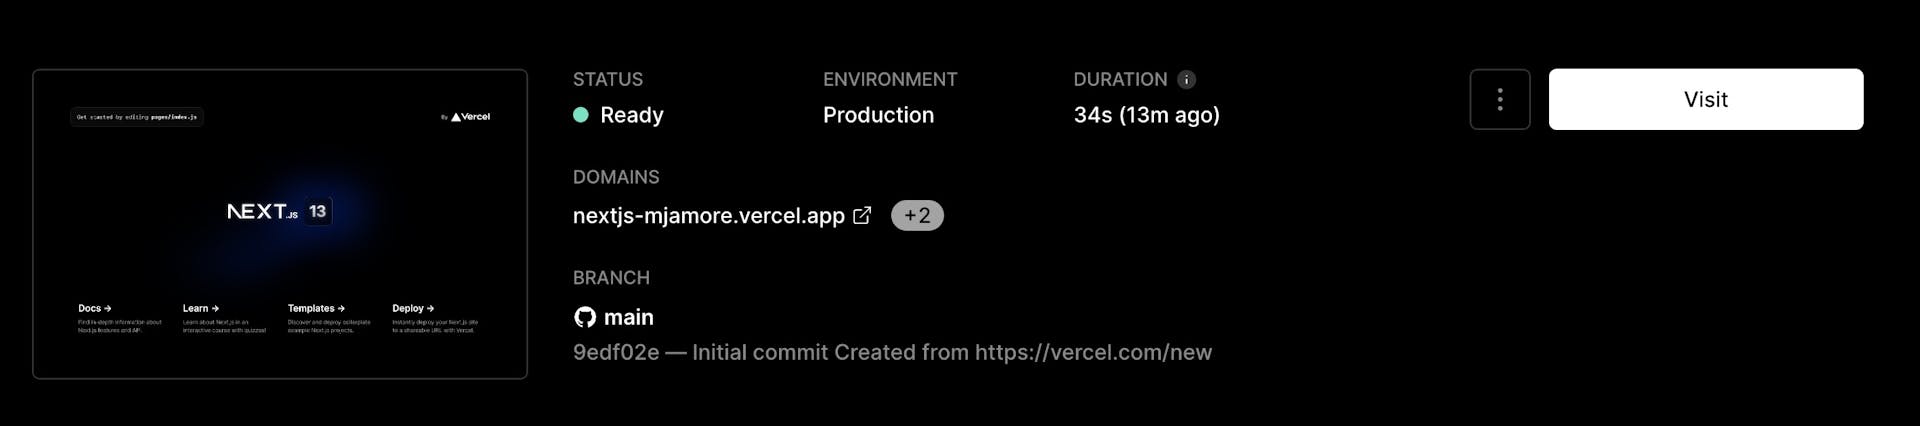
Go to your "Deployments" tab and you will see the new deployment that just completed. Click on that deployment and on the following screen, click the "View" button.
Wrap It Up
In just a matter of a couple minutes, you were able to create a new project from a starter template, connect it to your GitHub, and make it publicly accessible on the internet. That's pretty amazing!
Code With Love
Take a break from the internet for a few minutes and go show love to someone. Remind a friend or family member why you are grateful to have them in your life. Smile at a stranger. It's the little things that make the biggest difference.
Remember ... When you code with love, you can change the world.
Now go change the world!